9. 嵌套表單(1-to-1)
9-1 情境準備
Model 和 Model 之間的數據關聯,除了一對多(1-to-many)之外,還有一種是 一對一(1-to-1),一對一關聯算是一對多關聯的一種特例情況。
例如,一個常見的設計是讓 User 擁有 Profile,並且一個 User 用戶只會有一個 Profile 資料。
什麽時候會需要一對一的關聯設計呢?既然是一對一對應,那麽直接合並 profiles 的所有欄位在 users table 上,只用一個 User Model 也是可以啊。
會這樣設計的主要原因是為了節省資料庫查詢量,例如用戶的 Profile 儲存了用戶的詳細資料,一來很可能只有進到用戶詳細頁面(例如 users#show)才會用到、二來可能不是每一個用戶都有這個 Profile 細節資料,所以拆表之後可以讓絕大部分的操作都不需要去碰到 profiles table。對 User 來說尤其重要,因為登入之後,每一次的瀏覽,Rails 都會去資料庫撈出 User 資料設定 current_user
好,那讓我們來製作用戶 Profile:
執行 rails g model profile
編輯 db/migrate/201XXXXXXXX2545_create_profiles.rb
class CreateProfiles < ActiveRecord::Migration[5.0]
  def change
    create_table :profiles do |t|
      t.integer :user_id, :index => true
      t.string :legal_name
      t.date :birthday
      t.string :location
      t.string :education
      t.string :occupation
      t.text :bio
      t.text :specialty
      t.timestamps
    end
  end
end
執行 rake db:migrate
編輯 app/models/user.rb
  class User < ApplicationRecord
+    has_one :profile
編輯 app/models/profile.rb
  class Profile < ApplicationRecord
+   belongs_to :user
  end
接下來示範兩種表單 UI 的設計:
- 方案一:單獨的 resource 編輯 UI
- 方案二:嵌套(Nested)表單 UI
9-2 單獨的 resource 編輯 UI
針對 Profile 設計單獨的 CRUD,是之前就學過的設計,讓我們復習一下如何後台編輯 Profile:
編輯 config/routes.rb
   namespace :admin do
     root "events#index"
     resources :events
-    resources :users
+    resources :users do
+      resource :profile, :controller => "user_profiles"
+    end
  end
注意:這裡用單數
resource :profile,關於單數 resource 的說法請參考 4-2 根據用戶配置切換時區 一節。另外,因為預設的 controller 的命名是profiles,這裡我們偏好自定義命名改為user_prorfiles。
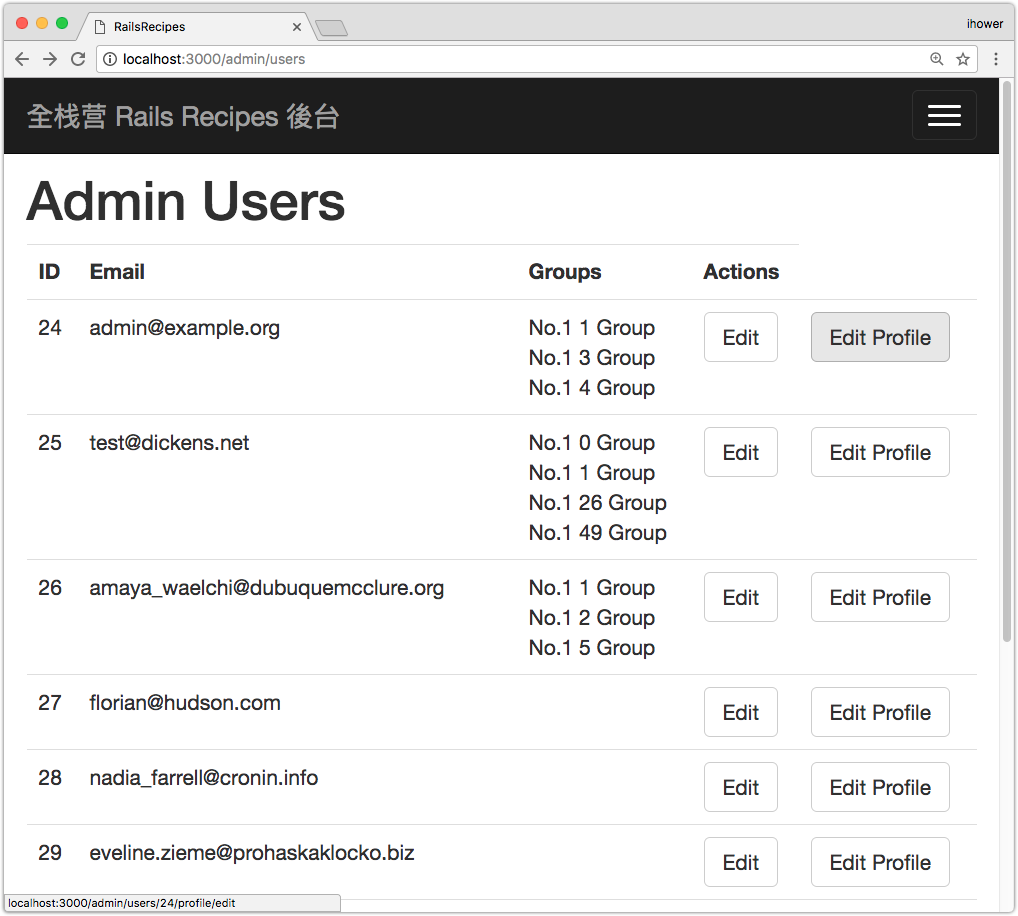
編輯 app/views/admin/users/index.html.erb
  <td><%= link_to "Edit", edit_admin_user_path(user), :class => "btn btn-default" %></td>
+ <td><%= link_to "Edit Profile", edit_admin_user_profile_path(user), :class => "btn btn-default" %></td>
執行 rails g controller admin::user_profiles
編輯 app/controllers/admin/user_profiles_controller.rb
-  class Admin::UserProfilesController < ApplicationController
+  class Admin::UserProfilesController < AdminController
+
+    before_action :find_user_and_profile
+
+    def edit
+    end
+
+    def update
+      if @profile.update(profile_params)
+        redirect_to admin_users_path
+      else
+        render "edit"
+      end
+    end
+
+    protected
+
+    def find_user_and_profile
+      @user = User.find(params[:user_id])
+      # 因為新建的用戶並沒有 profile,所以這裡先檢查是否有 @user.profile,如果沒有的話就用 @user.create_profile 新建進資料庫
+      @profile = @user.profile || @user.create_profile
+    end
+
+    def profile_params
+      params.require(:profile).permit(:legal_name, :birthday, :location, :education, :occupation, :bio, :specialty)
+    end
+
+  end
新增 app/views/admin/user_profiles/edit.html.erb
<h2>Edit User Profile</h2>
<%= form_for @profile, :url => admin_user_profile_path(@user) do |f| %>

<div class="form-group">
  <%= f.label :legal_name %> <%= f.text_field :legal_name, :class =>
  "form-control" %>
</div>

<div class="form-group">
  <%= f.label :birthday %> <%= f.date_field :birthday, :class => "form-control"
  %>
</div>

<div class="form-group">
  <%= f.label :location %> <%= f.text_field :location, :class => "form-control"
  %>
</div>

<div class="form-group">
  <%= f.label :education %> <%= f.text_field :education, :class =>
  "form-control" %>
</div>

<div class="form-group">
  <%= f.label :occupation %> <%= f.text_field :occupation, :class =>
  "form-control" %>
</div>

<div class="form-group">
  <%= f.label :bio %> <%= f.text_area :bio, :class => "form-control" %>
</div>

<div class="form-group">
  <%= f.label :specialty %> <%= f.text_area :specialty, :class => "form-control"
  %>
</div>

<div class="form-group">
  <%= f.submit "Submit", :class => "btn btn-primary" %>
</div>

<% end %>
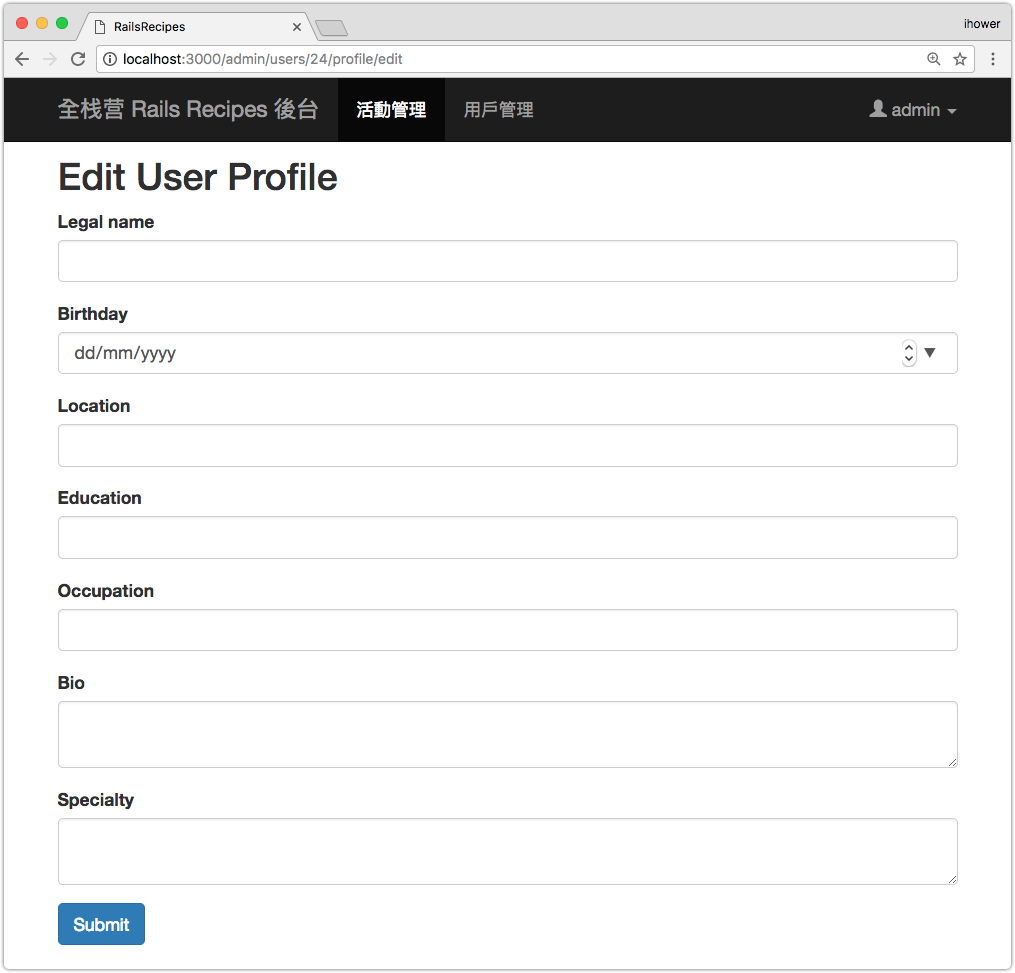
這樣就可以在後台編輯 User Profile 了。
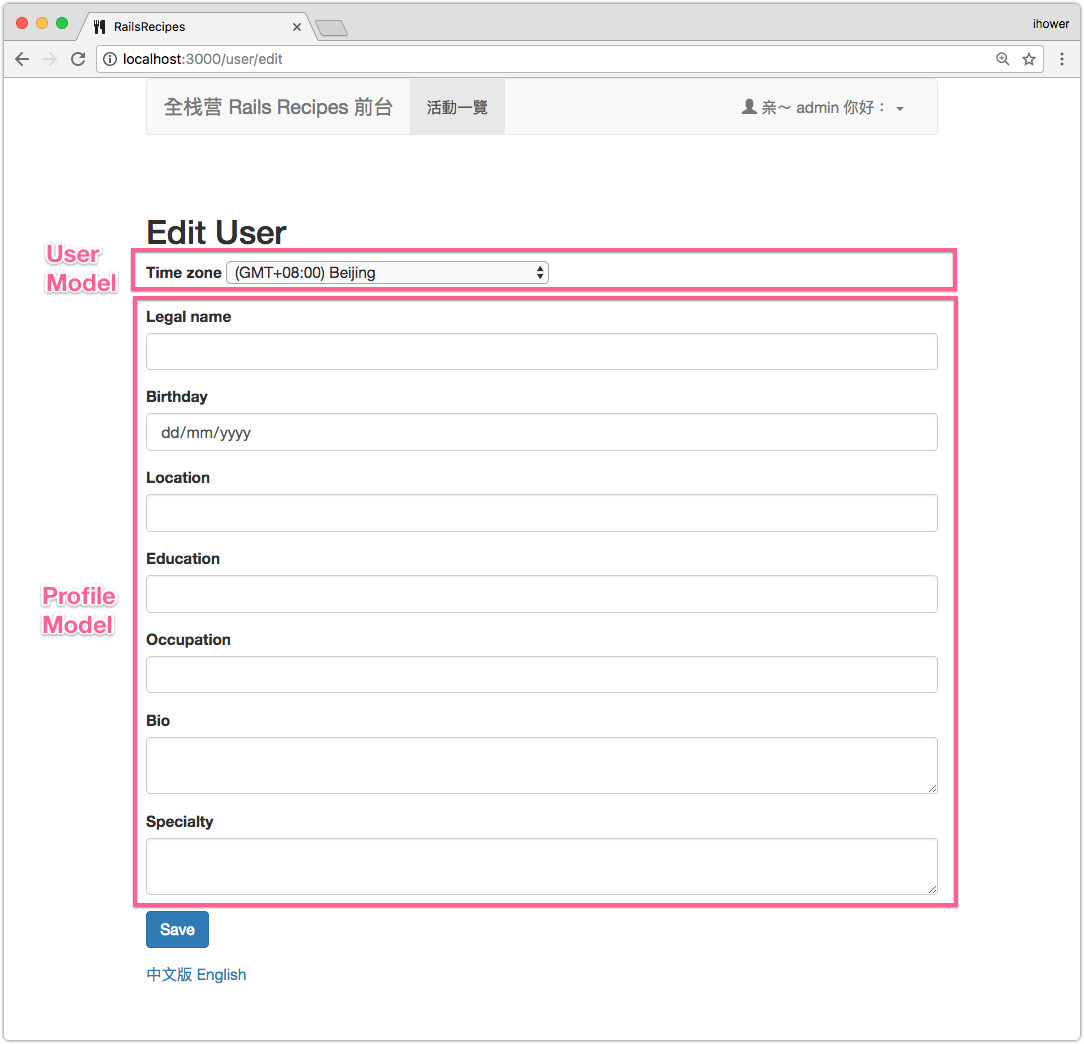
9-3 嵌套(Nested)表單 UI
接下來的重頭戲是將編輯 User 和編輯 Profile 的表單合並在一起。很多時候這樣對用戶的操作會更方便,一次就可以編輯兩個 Model 的資料。接下來示範如何在前臺做這個 UI。
編輯 app/models/user.rb
+ accepts_nested_attributes_for :profile
編輯 app/controllers/users_controller.rb
   def edit
     @user = current_user
     # 跟剛才後台情況一樣,如果沒有 @user.profile,要先新建一個
     # unless @user.profile 等同於 if [email protected] 或 if @user.profile.nil?
+    @user.create_profile unless @user.profile
   end

   # (略)

   def user_params
-    params.require(:user).permit(:time_zone)
+    params.require(:user).permit(:time_zone, :profile_attributes => [:id, :legal_name, :birthday, :location, :education, :occupation, :bio, :specialty] )
   end
Rails 的 accepts_nested_attributes_for 作用是可以在更新 User 時,也順便可以更新 Profile 資料。
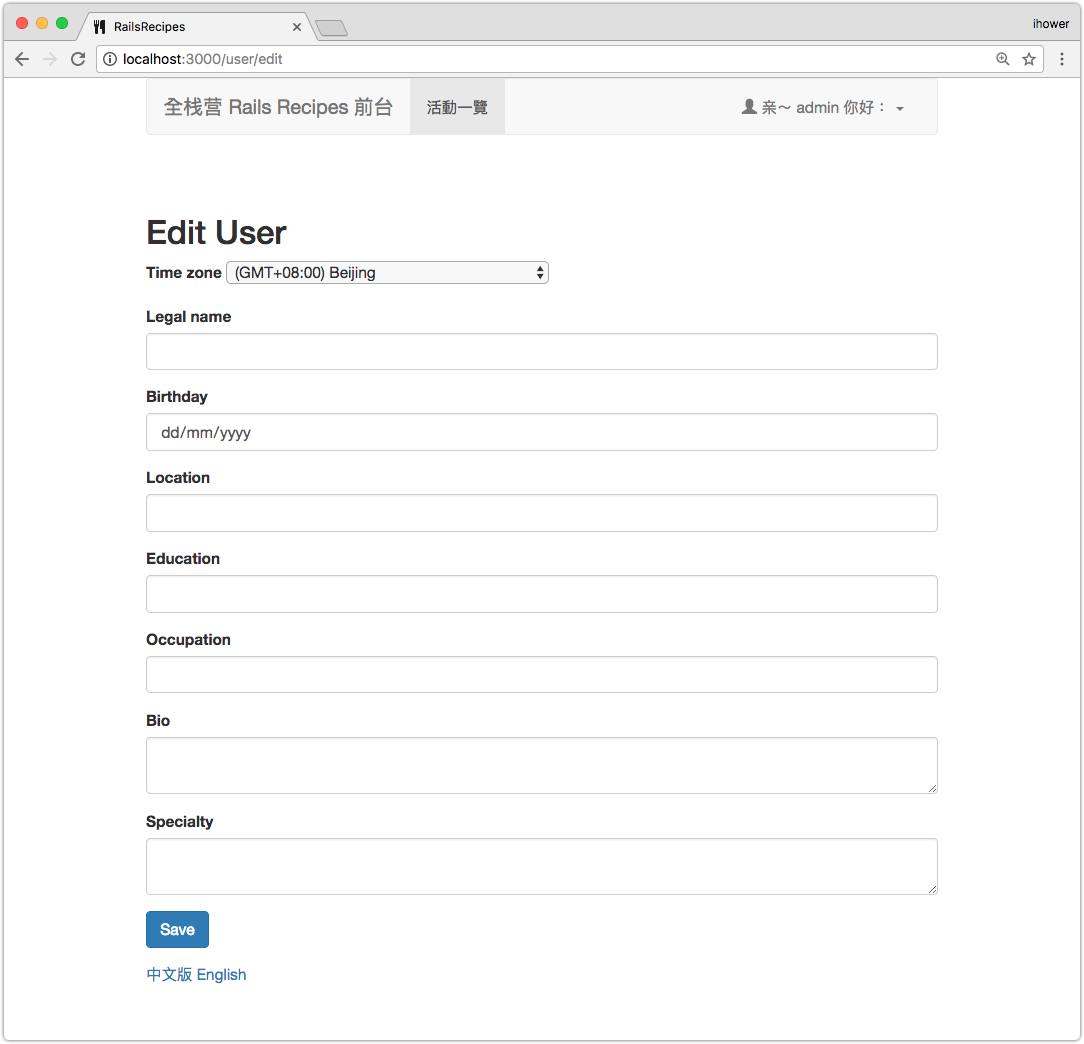
編輯 app/views/users/edit.html.erb 把 Profile 的表單加在本來的 User 表單裡面:
  <h2>Edit User</h2>

  <%= form_for @user do |f| %>

    <div class="form-group">
      <%= f.label :time_zone %>
      <%= f.time_zone_select :time_zone %>
    </div>

+   <%= f.fields_for :profile do |ff| %>
+     <div class="form-group">
+       <%= ff.label :legal_name %>
+       <%= ff.text_field :legal_name, :class => "form-control" %>
+     </div>
+
+     <div class="form-group">
+       <%= ff.label :birthday %>
+       <%= ff.date_field :birthday, :class => "form-control" %>
+     </div>
+
+     <div class="form-group">
+       <%= ff.label :location %>
+       <%= ff.text_field :location, :class => "form-control" %>
+     </div>
+
+     <div class="form-group">
+       <%= ff.label :education %>
+       <%= ff.text_field :education, :class => "form-control" %>
+     </div>
+
+     <div class="form-group">
+       <%= ff.label :occupation %>
+       <%= ff.text_field :occupation, :class => "form-control" %>
+     </div>
+
+     <div class="form-group">
+       <%= ff.label :bio %>
+       <%= ff.text_area :bio, :class => "form-control" %>
+     </div>
+
+     <div class="form-group">
+       <%= ff.label :specialty %>
+       <%= ff.text_area :specialty, :class => "form-control" %>
+     </div>
+   <% end %>

    <div class="form-group">
      <%= f.submit "Save", :class => "btn btn-primary" %>
    </div>

<% end %>
這樣就完成了,你可以送出編輯看看。
用這種嵌套(Nested)表單 UI 的話,我們不需要編輯 routes.rb 加上 profile 路由,也不需要 profiles_controller,因為透過 users_controller 就可以完成了。
9-4 Profile 的顯示
接著增加顯示頁面看看。
修改 app/controllers/users_controller.rb,新增 show action,順便重構一下都先調用 find_user 方法。
  class UsersController < ApplicationController

    before_action :authenticate_user!
+   before_action :find_user

+   def show
+   end

    def edit
-     @user = current_user
    end

   def update
-    @user = current_user
     if @user.update(user_params)
       flash[:notice] = "修改成功"
       redirect_to edit_user_path
     else
       render "edit"
     end
   end

   # (略)

   protected

+  def find_user
+    @user = current_user
+    @user.create_profile unless @user.profile
+  end

   # (略)
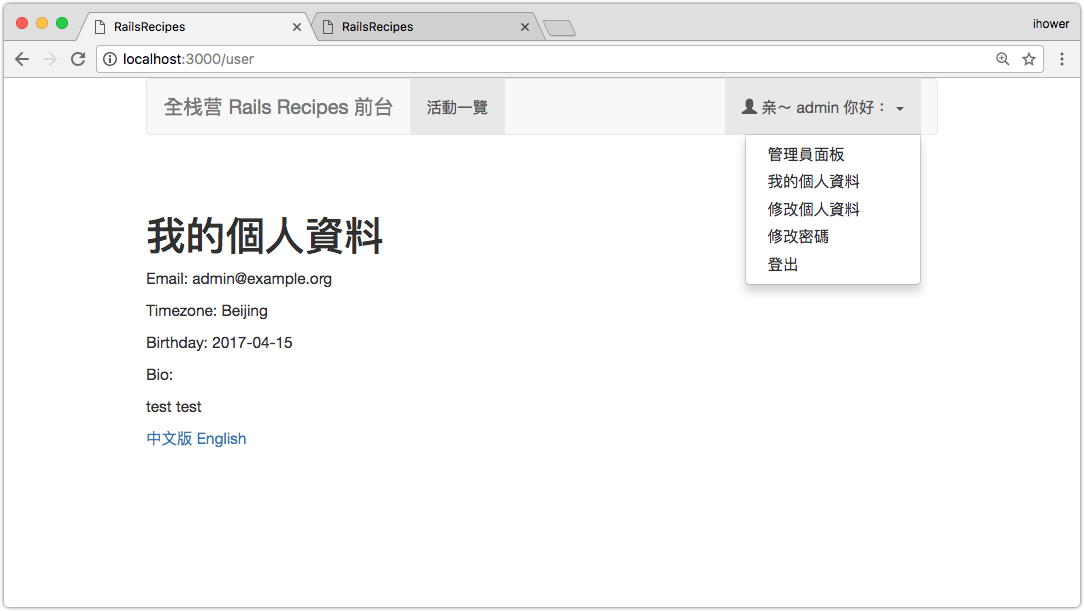
新增 app/views/users/show.html.erb
<h1>我的個人資料</h1>

<p>Email: <%= @user.email %></p>
<p>Timezone: <%= @user.time_zone %></p>
<p>Birthday: <%= @user.profile.birthday %></p>
<p>Bio: <%= simple_format @user.profile.bio %></p>
編輯 app/views/layout/application.html.erb 修改主選單加上這個連結,
+   <li><%= link_to('我的個人資料', user_path) %></li>
    <li><%= link_to('修改個人資料', edit_user_path) %></li>