5. 實作註冊、登入、登出 API
5-1 目標
上一章中是直接在網頁上看到 auth_token 讓用戶使用,但這個前提是用戶本身就是開發者,就像第一章我們使用數據聚合一樣,我們直接在後台就看到了 api key。
另一種常見情境是我們自己開發客戶端 App,例如 iOS 或 Android,這時候就不能讓小白用戶自己去網頁上複製貼上 api key 了。這時候我們就得做登入的 API,好讓用戶輸入帳號密碼登入,拿到 API Key 存在客戶端 App 上來使用。
這一章我們將實作以下 API,包括註冊、登入和登出:
POST /api/v1/signup
POST /api/v1/login
POST /api/v1/logout
5-2 實作 AuthController
編輯 config/routes.rb 加上路由:
 namespace :api, :defaults => { :format => :json } do
   namespace :v1 do

+    post "/signup" => "auth#signup"
+    post "/login" => "auth#login"
+    post "/logout" => "auth#logout"

     # ...(略)
   end
 end
輸入 rails g controller api::v1::auth --no-assets 產生 controller,編輯它:
- class Api::V1::AuthController < ApplicationController
+ class Api::V1::AuthController < ApiController

+   before_action :authenticate_user!, :only => [:logout]
+
+   def signup
+     user = User.new( :email => params[:email], :password => params[:password] )
+
+     if user.save
+       render :json => { :user_id => user.id }
+     else
+       render :json => { :message => "Failed", :errors => user.errors }, :status => 400
+     end
+   end
+
+   def login
+     if params[:email] && params[:password]
+       user = User.find_by_email( params[:email] )
+     end
+
+     if user && user.valid_password?( params[:password] )
+       render :json => { :message => "Ok",
+                         :auth_token => user.authentication_token,
+                         :user_id => user.id }
+     else
+       render :json => { :message => "Email or Password is wrong" }, :status => 401
+     end
+   end
+
+   def logout
+     current_user.generate_authentication_token # 重新產生一組,本來的 token 就失效了
+     current_user.save!
+
+     render :json => { :message => "Ok"}
+   end
+
end
記得改繼承自
ApiController,不然 POST 時會有ActionController::InvalidAuthenticityToken的錯誤
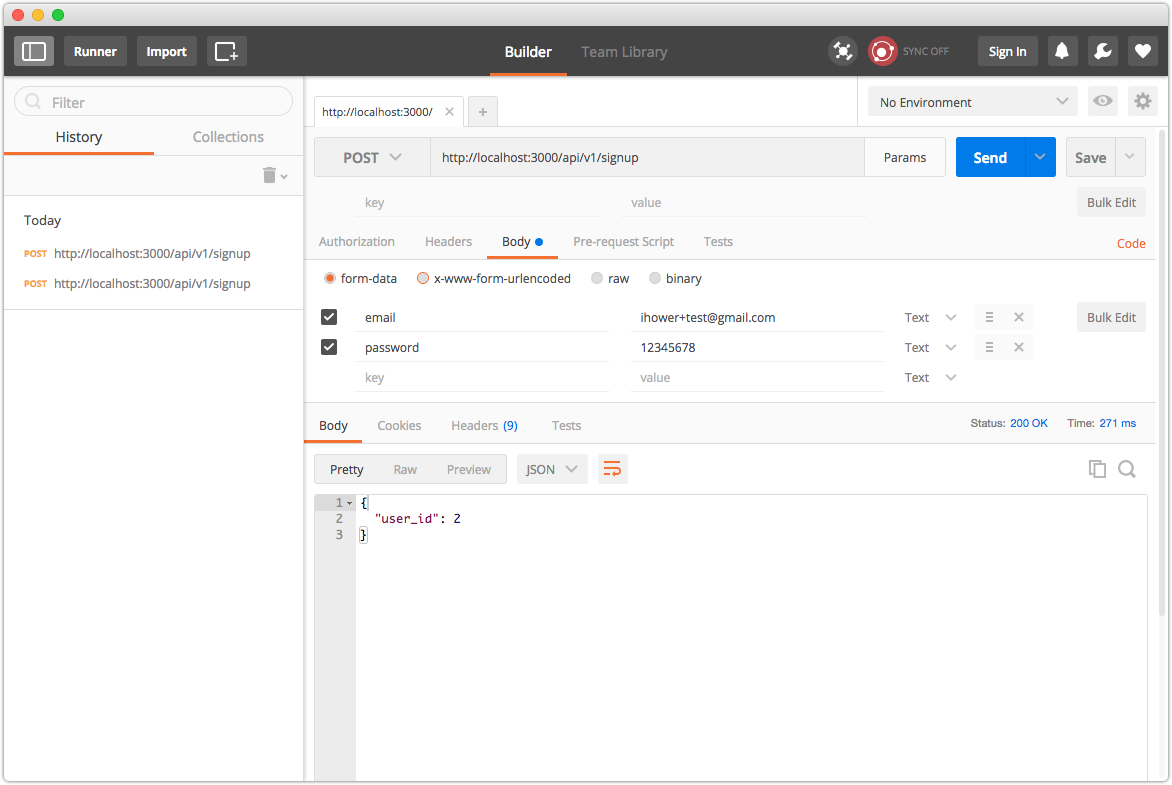
用 Postman 進行測試,首先是註冊 POST /api/v1/signup:

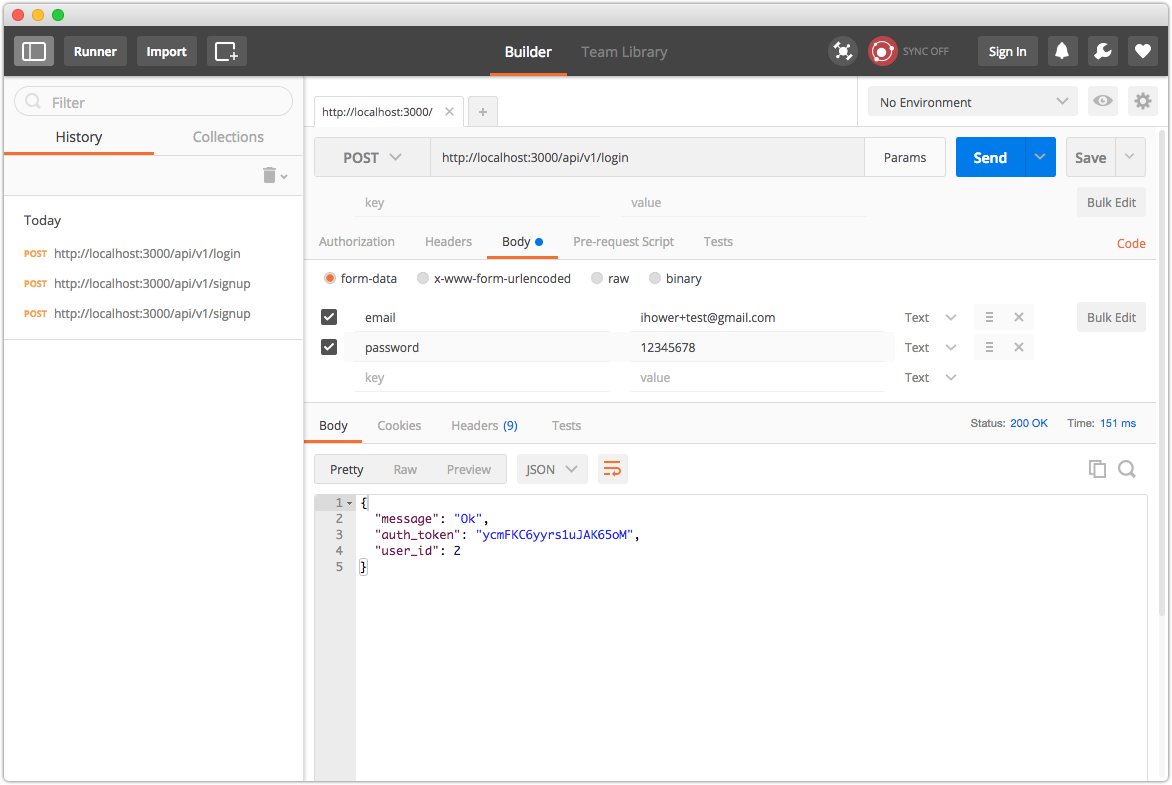
接著登入 POST /api/v1/login,客戶端用帳號密碼,來換得 auth_token

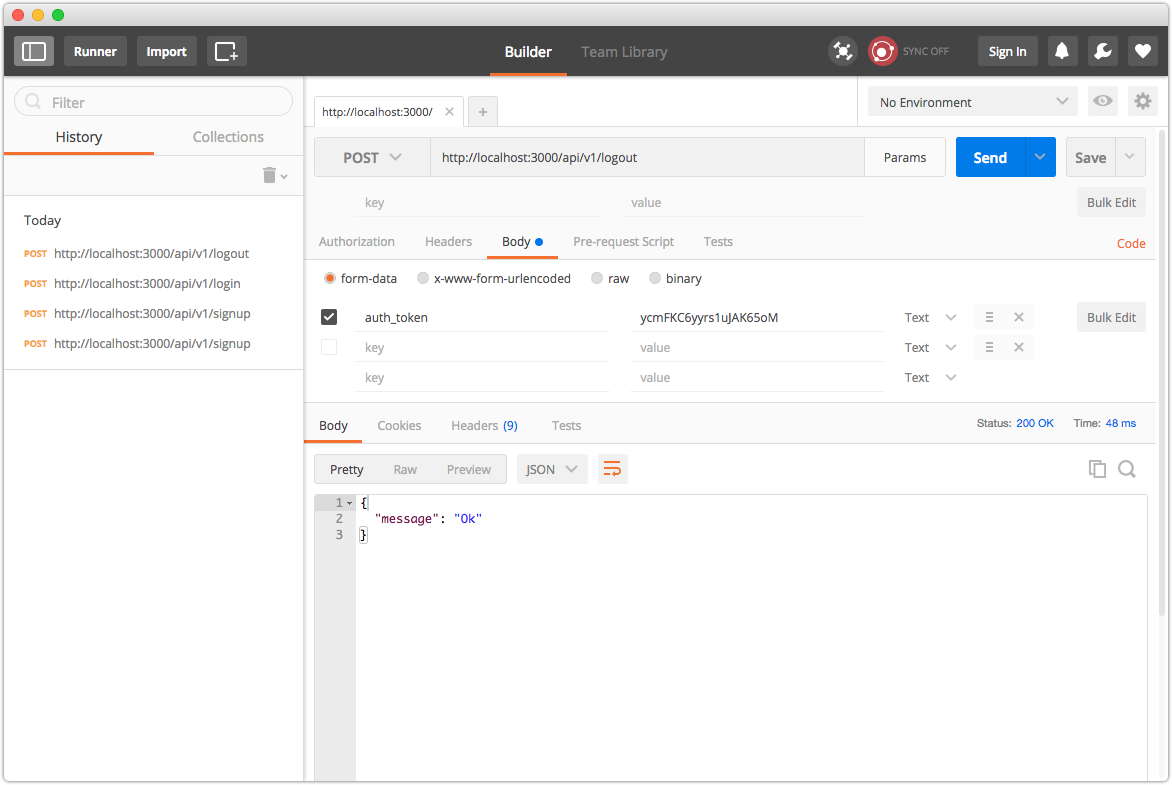
最後是登出 POST /api/v1/logout

5-3 解說
這兩章比較繁瑣一點,但是同學們不需要擔心寫不出來,因為沒有任何兩年內新手可以自己寫出認證 API,一定都是抄的,例如抄 https://github.com/plataformatec/devise/wiki/How-To:-Simple-Token-Authentication-Example 反正也只會做一次,而且都長一樣,各位同學不用擔心。