16. 多步驟表單
16-1 需求和 Model 設計
接下來要製作的功能是:用戶可以報名活動,也就是 event has_many registrations。
首先建立 Registration model
執行 rails g model registration
編輯 db/migrate/20170429152604_create_registrations.rb
  class CreateRegistrations < ActiveRecord::Migration[5.0]
    def change
      create_table :registrations do |t|
+       t.string :status, :default => "pending"
+       t.string :uuid
+       t.integer :event_id, :index => true
+       t.integer :ticket_id, :index => true
+       t.integer :user_id, :index => true
+       t.string :name
+       t.string :email
+       t.string :cellphone
+       t.string :website
+       t.text :bio
+       t.timestamps
      end

+     add_index :registrations, :uuid,  :unique => true
    end
  end
執行 rake db:migrate
編輯 app/models/registration.rb
class Registration < ApplicationRecord

  STATUS = ["pending", "confirmed"]
  validates_inclusion_of :status, :in => STATUS
  validates_presence_of :status, :ticket_id

  belongs_to :event
  belongs_to :ticket
  belongs_to :user, :optional => true

  before_validation :generate_uuid, :on => :create

  def to_param
    self.uuid
  end

  protected

  def generate_uuid
    self.uuid = SecureRandom.uuid
  end

end
這裡設計了 status 狀態欄位,以及在新建的時候亂數產生一個 UUID 來當作網址 ID。
編輯 app/models/event.rb
+ has_many :registrations, :dependent => :destroy
編輯 app/models/ticket.rb
+ has_many :registrations
編輯 app/models/user.rb
+ has_many :registrations
接下來要製作 UI,我們示範兩個解法:
- 單一表單
- 多步驟表單
16-2 建立報名表單
編輯 config/routes.rb
-  resources :events
+  resources :events do
+    resources :registrations
+  end
執行 rails g controller registrations
編輯 app/controllers/registrations_controller.rb
class RegistrationsController < ApplicationController

  before_action :find_event

  def new
  end

  def create
    @registration = @event.registrations.new(registration_params)
    @registration.ticket = @event.tickets.find( params[:registration][:ticket_id] )
    @registration.status = "confirmed"
    @registration.user = current_user

    if @registration.save
      redirect_to event_registration_path(@event, @registration)
    else
      render "new"
    end
  end

  def show
    @registration = @event.registrations.find_by_uuid(params[:id])
  end

  protected

  def registration_params
    params.require(:registration).permit(:ticket_id, :name, :email, :cellphone, :website, :bio)
  end

  def find_event
    @event = Event.find_by_friendly_id(params[:event_id])
  end

end
這裡針對 ticket 額外用
@event.tickets.find再檢查確定這個票種屬於這個活動
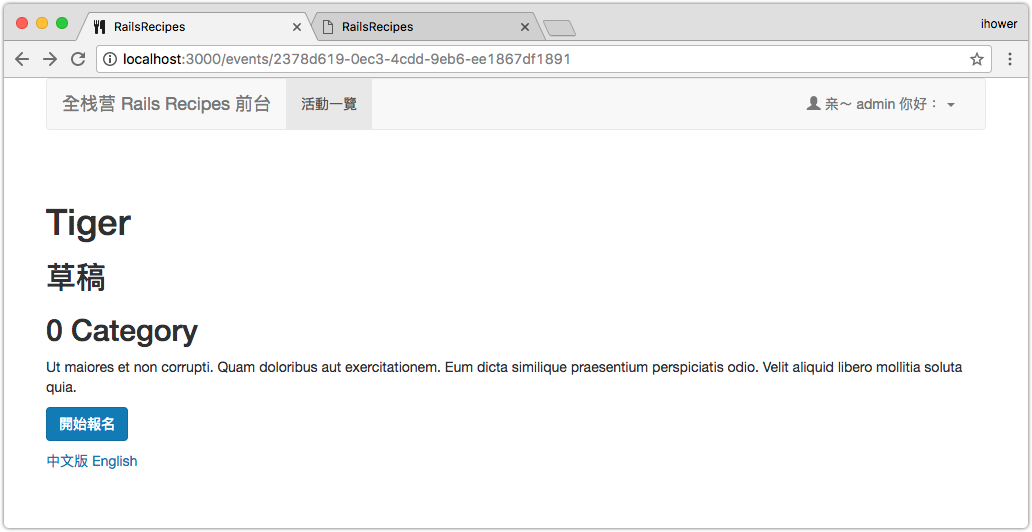
編輯 app/views/events/show.html.erb 加上一個按鈕去報名表單
+ <p><%= link_to "開始報名", new_event_registration_path(@event), :class => "btn btn-primary" %></p>
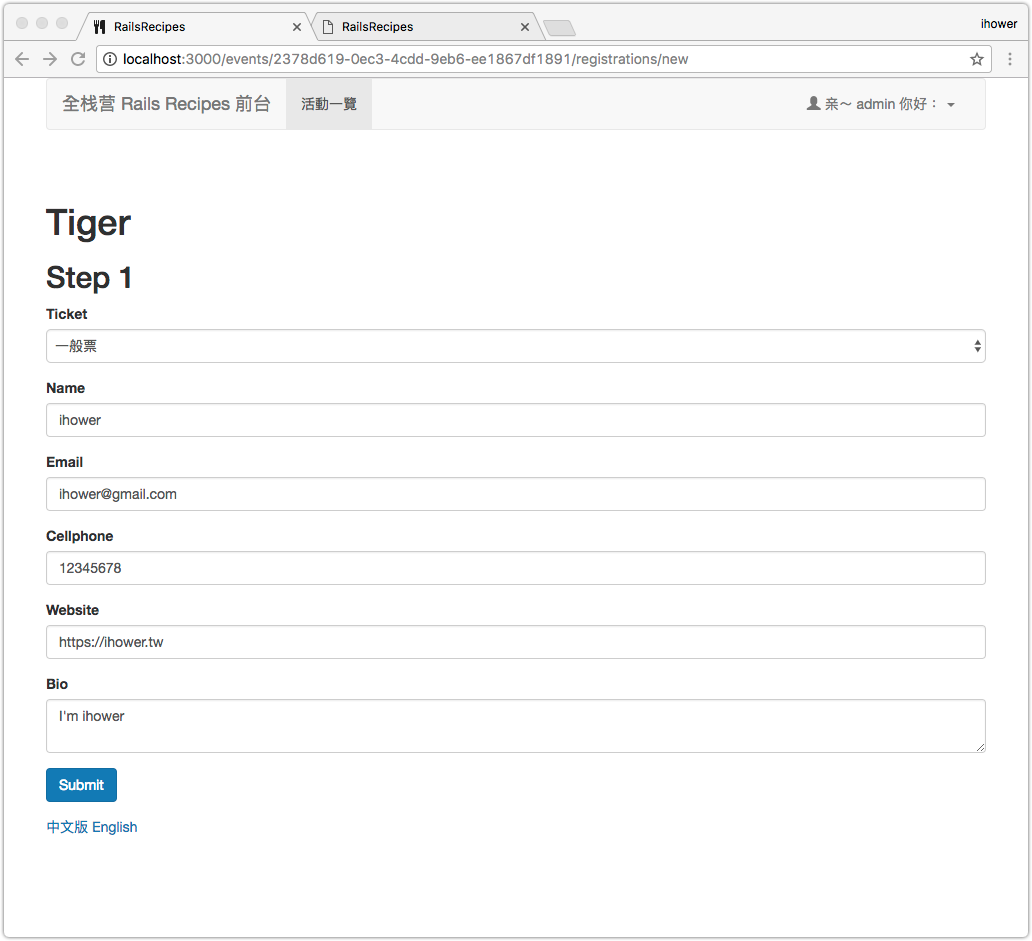
新增 app/views/registrations/new.html.erb 報名頁面
<h1><%= @event.name %></h1>

<%= form_for [@event, Registration.new] do |f| %>

  <div class="form-group">
    <%= f.label :ticket_id %>
    <%= f.select :ticket_id, @event.tickets.map{ |t| [t.name, t.id] }, {}, :class => "form-control" %>
  </div>

  <div class="form-group">
    <%= f.label :name %>
    <%= f.text_field :name, :class => "form-control" %>
  </div>

  <div class="form-group">
    <%= f.label :email %>
    <%= f.email_field :email, :class => "form-control" %>
  </div>

  <div class="form-group">
    <%= f.label :cellphone %>
    <%= f.text_field :cellphone, :class => "form-control" %>
  </div>

  <div class="form-group">
    <%= f.label :website %>
    <%= f.url_field :website, :class => "form-control" %>
  </div>

  <div class="form-group">
    <%= f.label :bio %>
    <%= f.text_area :bio, :class => "form-control" %>
  </div>

  <div class="form-group">
    <%= f.submit "Submit", :class => "btn btn-primary" %>
  </div>

<% end %>
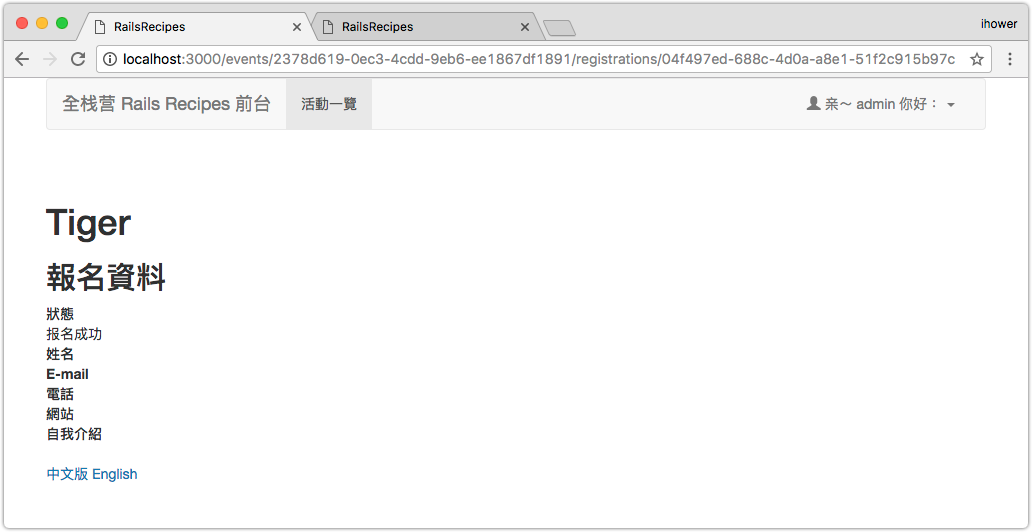
新增 app/views/registrations/show.html.erb 報名成功頁面
<h1><%= @event.name %></h1>

<h2>報名資料</h2>

<dl>
  <dt>狀態</dt>
  <dd><%= t(@registration.status, :scope => "registration.status") %></dd>
  <dt>姓名</dt>
  <dd><%= @registration.name %></dd>
  <dt>E-mail</dt>
  <dd><%= @registration.email %></dd>
  <dt>電話</dt>
  <dd><%= @registration.cellphone %></dd>
  <dt>網站</dt>
  <dd><%= @registration.website %></dd>
  <dt>自我介紹</dt>
  <dd><%= simple_format @registration.bio %></dd>
</dl>
編輯 config/locales/zh-CN.yml 新增狀態的翻譯
  "zh-CN":
+   registration:
+     status:
+       pending: 報名尚未完成
+       confirmed: 報名成功
這樣就完成了。如果只是這樣就太小看大家了,讓我們繼續看下去…
16-3 多步驟表單
接下來的重頭戲是製作多步驟的表單(Multi Step Form,又叫做 Wizards)
Protip: 記得這些英文名詞對 google 是有幫助的,google “wizards rails” 就可以找到如何做這個功能的教程
什麽時候會用到呢? 當表單很複雜的時候,我們不希望一次就把所有欄位顯示出來,這樣會嚇跑用戶。而是會拆成步驟一、步驟二、步驟三…. 一步一步讓用戶掉入這個坑完成表單,以增加表單完成的成功率。
要製作的 UI 將拆分成三個表單:
- 第一個表單: 選票種
- 第二個表單: 填姓名、E-mail、電話
- 第三個表單: 填個人網站 URL、填自我介紹
其中第二個表單和第三個表單,除了有下一步之外,也可以回到上一步進行修改。如果用戶中途離開,下次再進來也可以繼續編輯。
另一種純前端的做法,例如 jQuery Steps,則是只用特效的方式拆成不同步驟,而沒有將過程儲存進到資料庫,如果中離就毫無紀錄。本章的做法是中間過程都會存進資料庫。
首先,讓我們修改路由 config/routes.rb,分別是三個步驟的表單頁面和修改動作:
   resources :events do
-    resources :registrations
+    resources :registrations do
+      member do
+        get "steps/2" => "registrations#step2", :as => :step2
+        patch "steps/2/update" => "registrations#step2_update", :as => :update_step2
+        get "steps/3" => "registrations#step3", :as => :step3
+        patch "steps/3/update" => "registrations#step3_update", :as => :update_step3
+      end
     end
   end
沒有特別看到 step1 是因為 registrations controller 本來的 new action 和 create action 就是新增時的第一步。
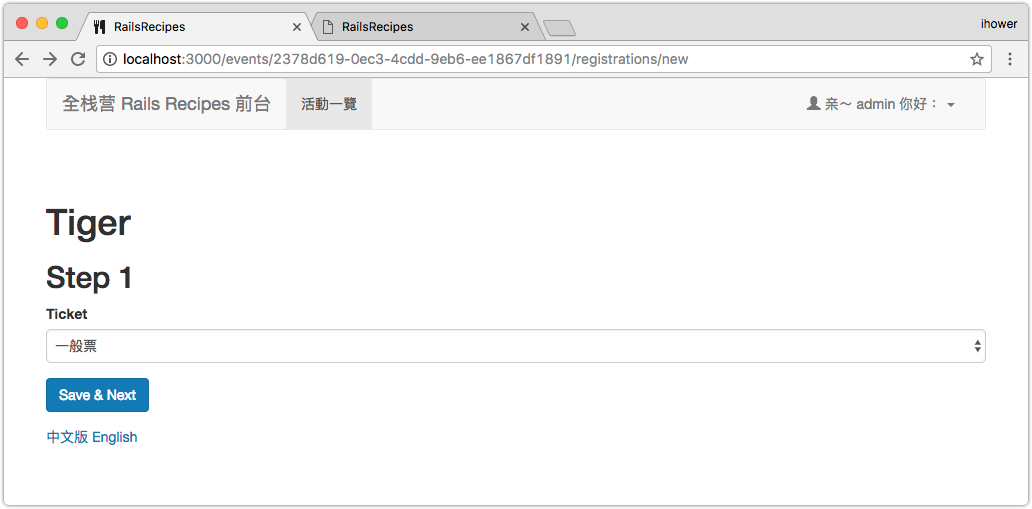
16-4 第一步的表單
修改 app/views/registrations/new.html.erb 報名頁面,只留下選票種:
   <h1><%= @event.name %></h1>
+  <h2>Step 1</h2>

   <%= form_for [@event, Registration.new] do |f| %>

     <div class="form-group">
       <%= f.label :ticket_id %>
       <%= f.select :ticket_id, @event.tickets.map{ |t| [t.name, t.id] }, {}, :class => "form-control" %>
     </div>

-    <div class="form-group">
-      <%= f.label :name %>
-      <%= f.text_field :name, :class => "form-control" %>
-    </div>
-
-    <div class="form-group">
-      <%= f.label :email %>
-      <%= f.email_field :email, :class => "form-control" %>
-    </div>
-
-    <div class="form-group">
-      <%= f.label :cellphone %>
-      <%= f.text_field :cellphone, :class => "form-control" %>
-    </div>
-
-    <div class="form-group">
-      <%= f.label :website %>
-      <%= f.url_field :website, :class => "form-control" %>
-    </div>
-
-    <div class="form-group">
-      <%= f.label :bio %>
-      <%= f.text_area :bio, :class => "form-control" %>
-    </div>
-
     <div class="form-group">
-      <%= f.submit "Submit", :class => "btn btn-primary" %>
+      <%= f.submit "Save and Next", :class => "btn btn-primary" %>
     </div>

   <% end %>
編輯 app/controllers/registrations_controller.rb
   def create
     @registration = @event.registrations.new(registration_params)
     @registration.ticket = @event.tickets.find( params[:registration][:ticket_id] )
-    @registration.status = "confirmed"
+    @registration.status = "pending"
     @registration.user = current_user

     if @registration.save
-      redirect_to event_registration_path(@event, @registration)
+      redirect_to step2_event_registration_path(@event, @registration)
     else
       render "new"
     end
   end
本來進 create action 就完成了,現在要改成進 step2 action。
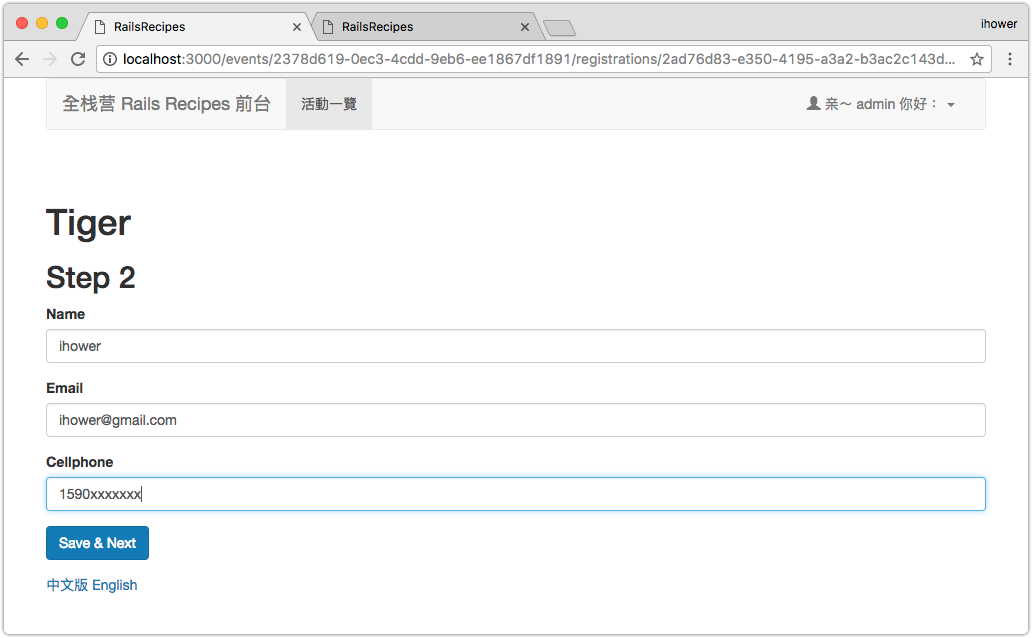
16-5 第二步的表單
接著要編輯第二步:
編輯 app/controllers/registrations_controller.rb
+  def step2
+    @registration = @event.registrations.find_by_uuid(params[:id])
+  end
+
+  def step2_update
+    @registration = @event.registrations.find_by_uuid(params[:id])
+
+    if @registration.update(registration_params)
+      redirect_to step3_event_registration_path(@event, @registration)
+    else
+      render "step2"
+    end
+  end
新增 app/views/registrations/step2.html.erb
<h1><%= @event.name %></h1>

<h2>Step 2</h2>

<%= form_for @registration, :url => update_step2_event_registration_path(@event, @registration) do |f| %>

  <div class="form-group">
    <%= f.label :name %>
    <%= f.text_field :name, :class => "form-control" %>
  </div>

  <div class="form-group">
    <%= f.label :email %>
    <%= f.email_field :email, :class => "form-control" %>
  </div>

  <div class="form-group">
    <%= f.label :cellphone %>
    <%= f.text_field :cellphone, :class => "form-control" %>
  </div>

  <div class="form-group">
    <%= f.submit "Save & Next", :class => "btn btn-primary" %>
  </div>

<% end %>
16-6 第三步的表單
接著要編輯第三步:
編輯 app/controllers/registrations_controller.rb
+  def step3
+    @registration = @event.registrations.find_by_uuid(params[:id])
+  end
+
+  def step3_update
+    @registration = @event.registrations.find_by_uuid(params[:id])
+    @registration.status = "confirmed"
+
+    if @registration.update(registration_params)
+      flash[:notice] = "報名成功"
+      redirect_to event_registration_path(@event, @registration)
+    else
+      render "step3"
+    end
+  end
新增 app/views/registrations/step3.html.erb
<h1><%= @event.name %></h1>

<h2>Step 3</h2>

<%= form_for @registration, :url => update_step3_event_registration_path(@event, @registration) do |f| %>

  <div class="form-group">
    <%= f.label :website %>
    <%= f.url_field :website, :class => "form-control" %>
  </div>

  <div class="form-group">
    <%= f.label :bio %>
    <%= f.text_area :bio, :class => "form-control" %>
  </div>

  <div class="form-group">
    <%= f.submit "Submit", :class => "btn btn-primary" %>
  </div>

<% end %>
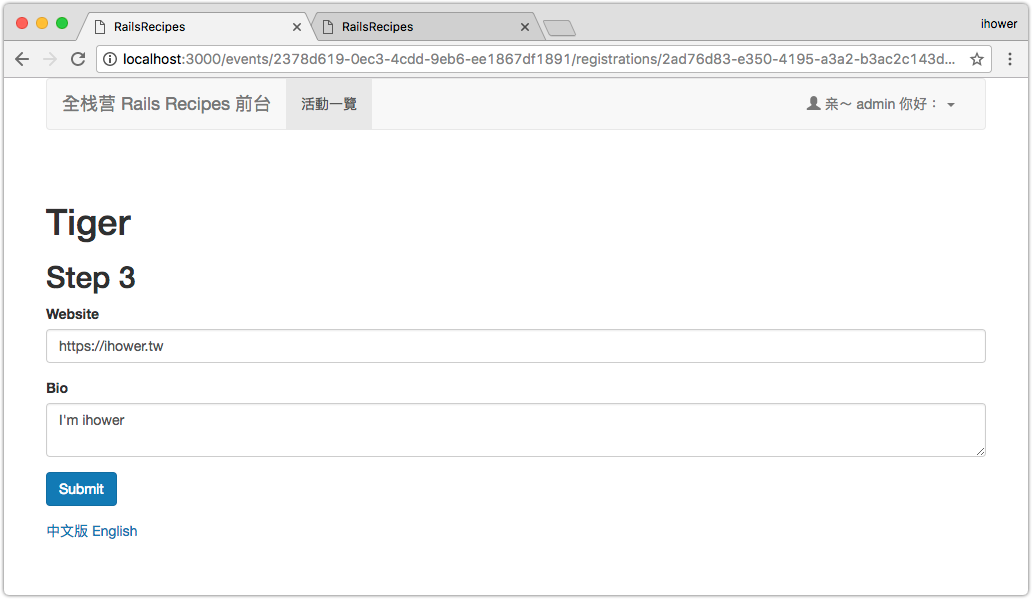
這樣基本上就完成了,在 step3_update action 中,最後成功後會轉去 show 成功畫面。
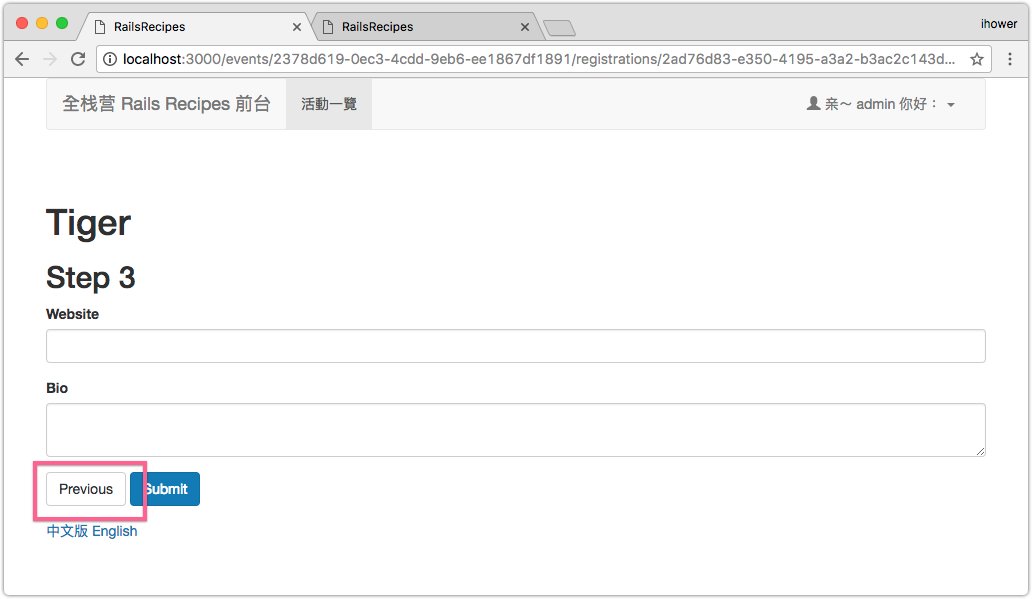
16-7 回到上一步
接下來讓我們加上「回到上一步」的按鈕。
首先是第三步回第二步,修改 app/views/registrations/step3.html.erb
   <div class="form-group">
+    <%= link_to "Previous", step2_event_registration_path(@event, @registration), :class => "btn btn-default" %>
     <%= f.submit "Submit", :class => "btn btn-primary" %>
   </div>
這個簡單,一個連結回去 step2 即可。
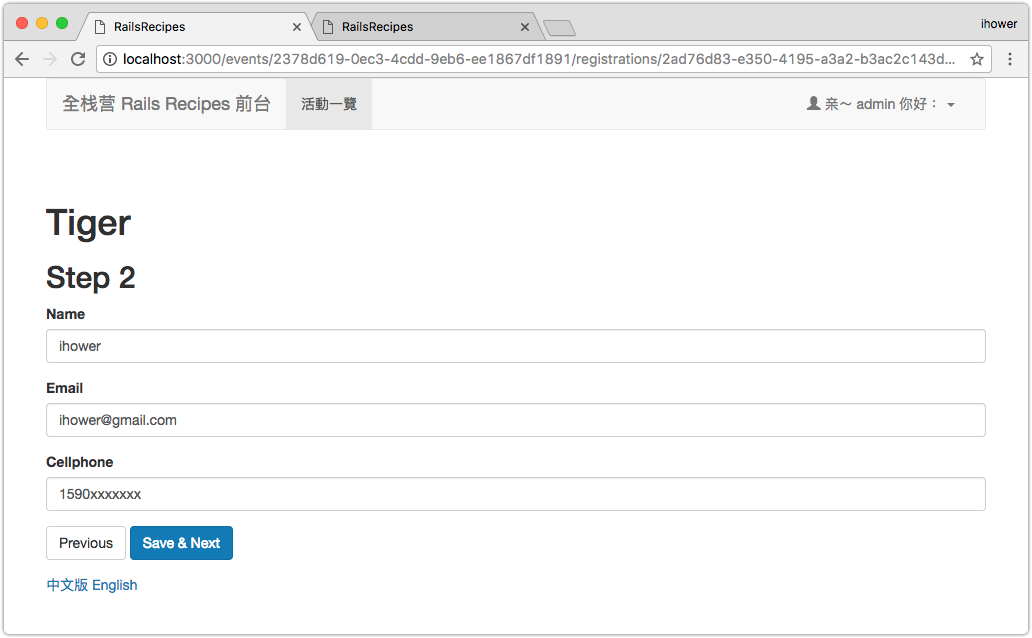
接下來是第二步回到第一步,編輯 config/routes.rb
   resources :events do
     resources :registrations do
       member do
+        get "steps/1" => "registrations#step1", :as => :step1
+        patch "steps/1/update" => "registrations#step1_update", :as => :update_step1
         get "steps/2" => "registrations#step2", :as => :step2
         patch "steps/2/update" => "registrations#step2_update", :as => :update_step2
         get "steps/3" => "registrations#step3", :as => :step3
         patch "steps/3/update" => "registrations#step3_update", :as => :update_step3
       end
     end
   end
修改 app/views/registrations/step2.html.erb
   <div class="form-group">
+    <%= link_to "Previous", step1_event_registration_path(@event, @registration), :class => "btn btn-default" %>
     <%= f.submit "Save & Next", :class => "btn btn-primary" %>
   </div>
這裡就很不一樣了,當初新增時的第一步是 new_event_registration_path,而不是這裡寫的 step1_event_registration_path。這是因為如果已經開始編輯了,那麽「回頭編輯時」的第一步跟「新增當時」的第一步,雖然表單長得一樣,但是其實是不同頁面,操作也不一樣,前者是更新資料(update_step1 action),後者新建資料(create action)。
接著讓我們新增「回頭編輯時」的第一步動作,請編輯 app/controllers/registrations_controller.rb
+  def step1
+    @registration = @event.registrations.find_by_uuid(params[:id])
+  end
+
+  def step1_update
+    @registration = @event.registrations.find_by_uuid(params[:id])
+
+    if @registration.update(registration_params)
+      redirect_to step2_event_registration_path(@event, @registration)
+    else
+      render "step1"
+    end
+  end
新增 app/views/registrations/step1.html.erb
<h1><%= @event.name %></h1>
<h2>Step 1</h2>

<%= form_for [@event, @registration], :url => update_step1_event_registration_path(@event, @registration) do |f| %>

  <%= render :partial => "step1_form", :locals => { :f => f } %>

<% end %>
因為 new.html.erb 和 step1.html.erb 的表單是一模一樣的,所以讓我們拆出來 partial 樣板:
新增 app/views/registrations/_step1_form.html.erb
<div class="form-group">
  <%= f.label :ticket_id %>
  <%= f.select :ticket_id, @event.tickets.map{ |t| [t.name, t.id] }, {}, :class => "form-control" %>
</div>

<div class="form-group">
  <%= f.submit "Save & Next", :class => "btn btn-primary" %>
</div>
編輯 app/views/registrations/new.html.erb,改用這個 partial 樣板。
   <h1><%= @event.name %></h1>
   <h2>Step 1</h2>

   <%= form_for [@event, Registration.new] do |f| %>

-    <div class="form-group">
-      <%= f.label :ticket_id %>
-      <%= f.select :ticket_id, @event.tickets.map{ |t| [t.name, t.id] }, {}, :class => "form-control" %>
-    </div>

-    <div class="form-group">
-      <%= f.submit "Save and Next", :class => "btn btn-primary" %>
-    </div>

+    <%= render :partial => "step1_form", :locals => { :f => f } %>
   <% end %>
你可以試試看這個上一步的功能了。
16-8 有條件的表單驗證
接下來加上一些資料驗證好了,編輯 app/models/registration.rb
+ validates_presence_of :name, :email, :cellphone, :bio
乍看之下沒有問題,但是你會發現我們連第一步都做不下去。因為第一步的表單只有選票種,而沒有其他資料。這樣存儲時驗證會失敗。
怎麽辦呢?Rails 可以根據條件來做表單驗證,叫做 Conditional Validations。我們需要根據用戶實際在做哪一步,來決定要啟用哪些驗證。
再次編輯 app/models/registration.rb
-  validates_presence_of :name, :email, :cellphone, :bio

+  attr_accessor :current_step
+  validates_presence_of :name, :email, :cellphone, :if => :should_validate_basic_data?
+  validates_presence_of :name, :email, :cellphone, :bio, :if => :should_validate_all_data?

  # 略

   protected

+  def should_validate_basic_data?
+    current_step == 2  # 只有做到第二步需要驗證
+  end
+
+  def should_validate_all_data?
+    current_step == 3 || status == "confirmed"  # 做到第三步,或最後狀態是 confirmed 時需要驗證
+  end
解說:
:if這個參數可以設定調用那一個方法來決定要不要啟用這個驗證,回傳 true 就是要,回傳 false 就是不要- 透過
attr_accessor :current_step我們增加一個虛擬屬性(也就是資料庫中並沒有這個欄位)來代表目前做到哪一步
編輯 app/controllers/registrations_controller.rb
   def create
     @registration = @event.registrations.new(registration_params)
     @registration.ticket = @event.tickets.find( params[:registration][:ticket_id] )
     @registration.status = "pending"
     @registration.user = current_user
+    @registration.current_step = 1

   # 略

   def step1_update
     @registration = @event.registrations.find_by_uuid(params[:id])
+    @registration.current_step = 1

   # 略

   def step2_update
     @registration = @event.registrations.find_by_uuid(params[:id])
+    @registration.current_step = 2

   # 略

   def step3_update
     @registration = @event.registrations.find_by_uuid(params[:id])
     @registration.status = "confirmed"
+    @registration.current_step = 3

   # 略
我們在每次調用 save 存進資料庫前,設定一下 current_step 的值,這樣就可以有條件的觸發對應的資料驗證了。